I have this Omeka site, now what?
You have signed up for an Omeka site and chosen the version of Omeka you want to use. (i'll be using the free version for the purpose of this example.) Now you might be thinking, "What the heck do I do next? I'm supposed to be able to create these awesome digital exhibits?"
Before you can become a world-class digital exhibit make on Omeka, you need to add some items to your Omeka site. Copyright is a concern when downloading images off the internet, see your instructor for specific guidelines relating to your project. My favorite resource for public domain images is the New York Public Library's Digital Collections. Explore their resources for incredible images spanning most of American history.
Adding an Item
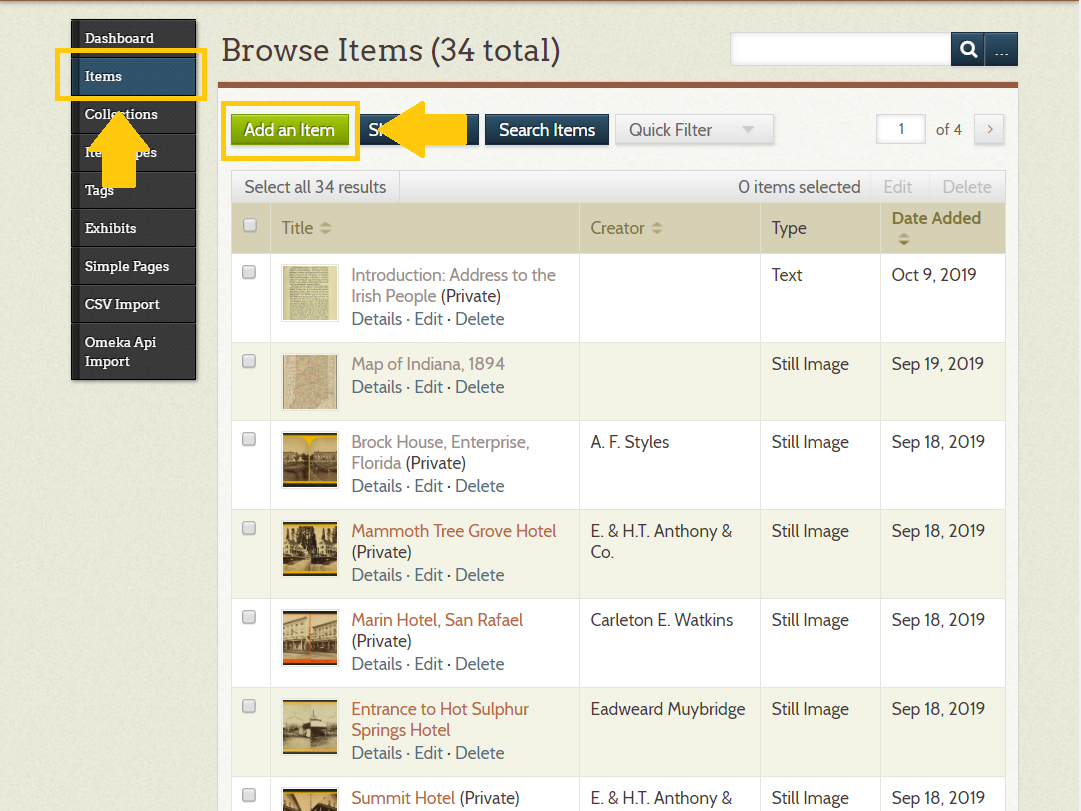
- Select the 'Add Item' button on the "Browse Items' section.
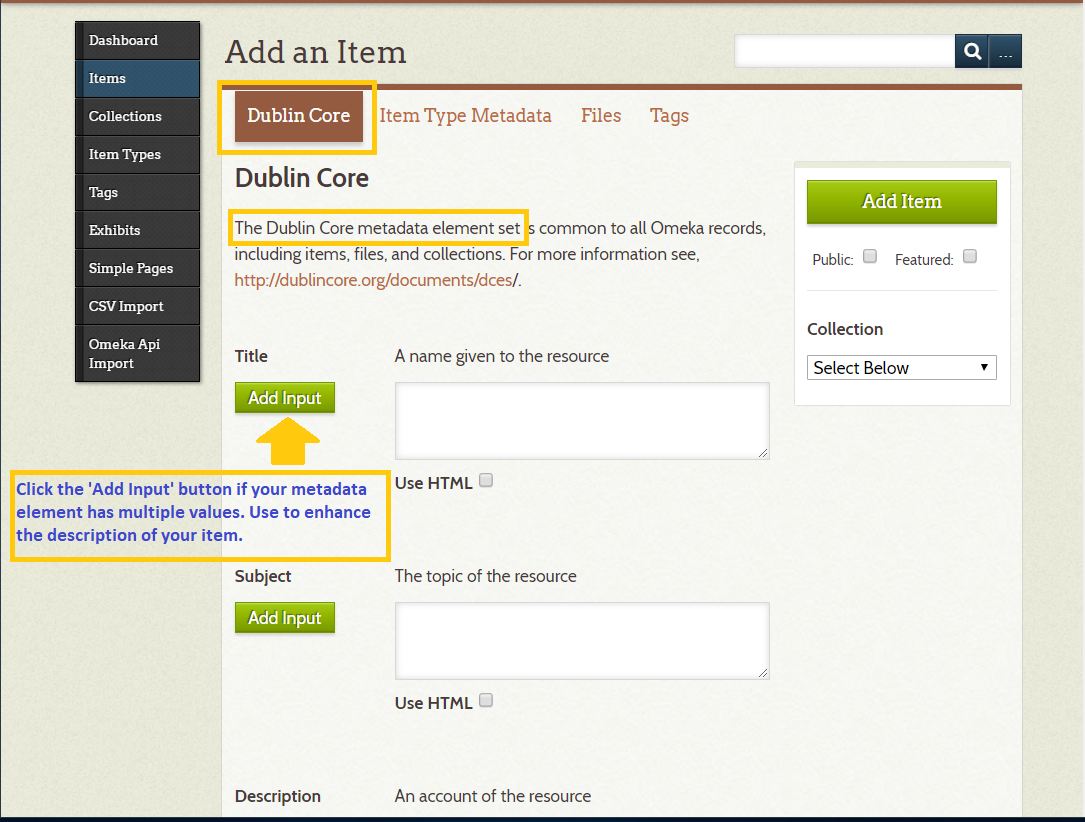
- Add the Dublin Core metadata about the item. Dublin Core elements are a standard way of describing resources and more information can be found here.
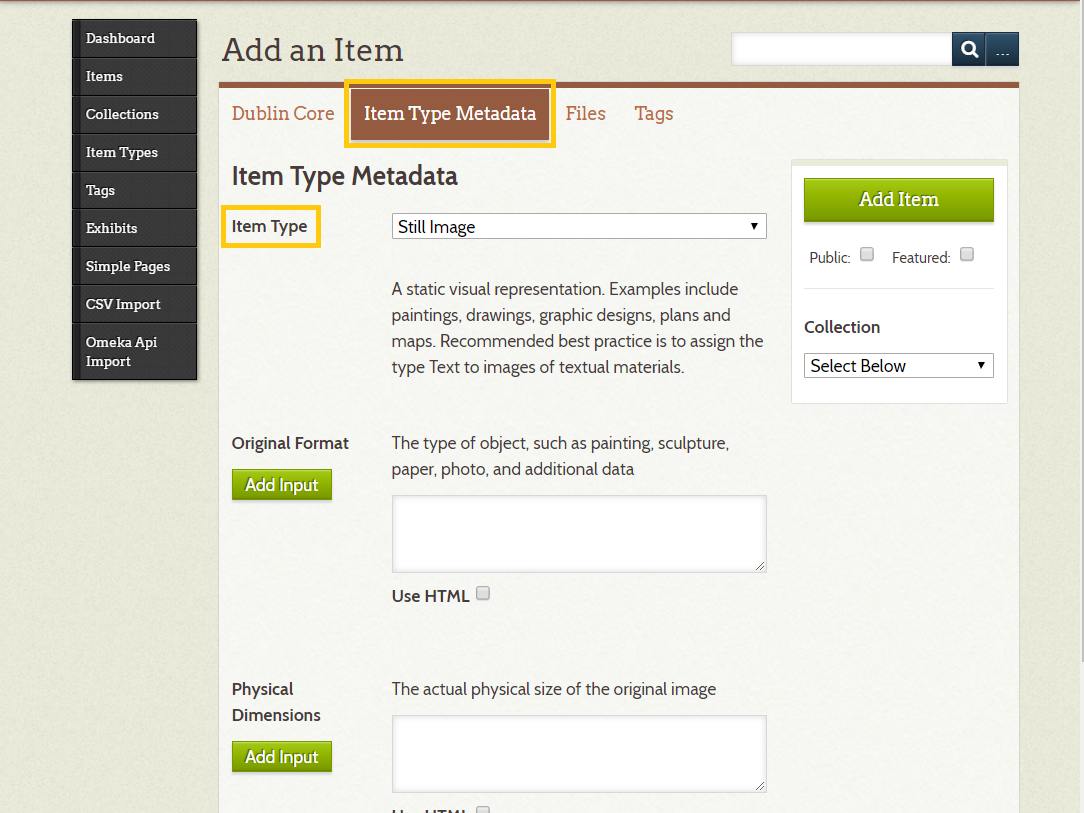
- Then move to the 'Item Type Metadata' tab. Here you select what kind of item you're adding (still image, moving image, text, etc.) Based on the item type you select, Omeka will generate metadata elements.
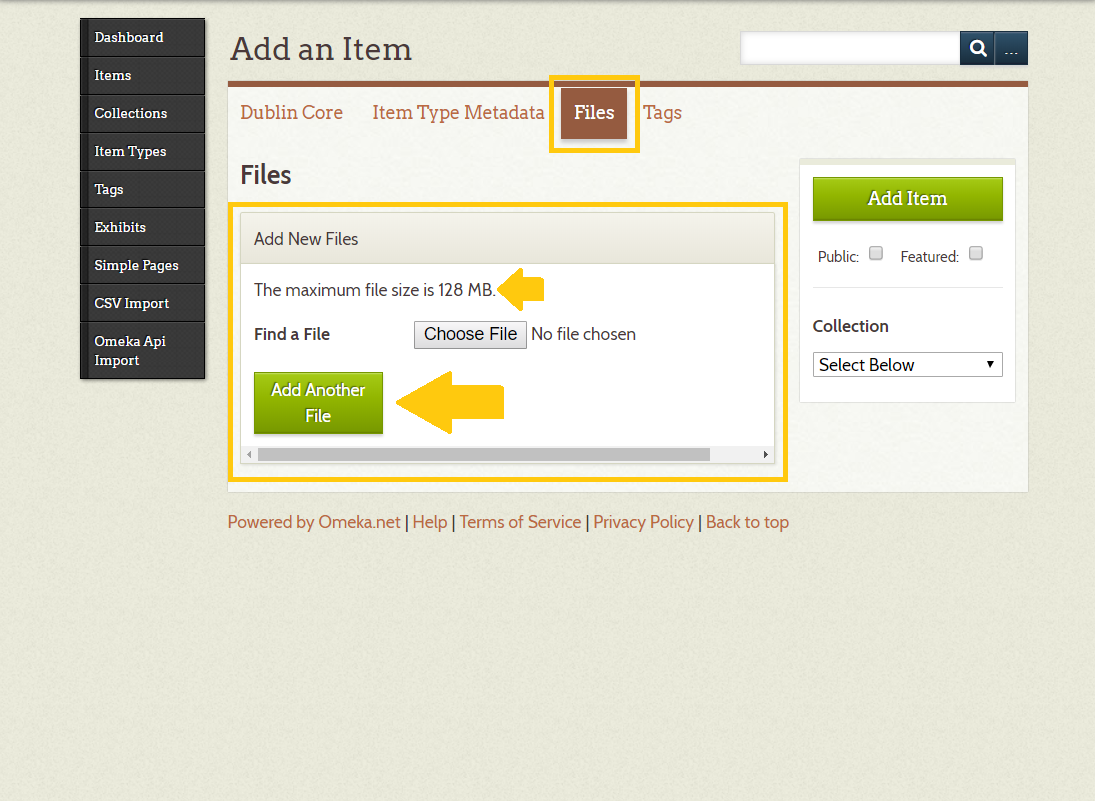
- Upload the item file(s) you want to add. More than one file can be uploaded to one item.
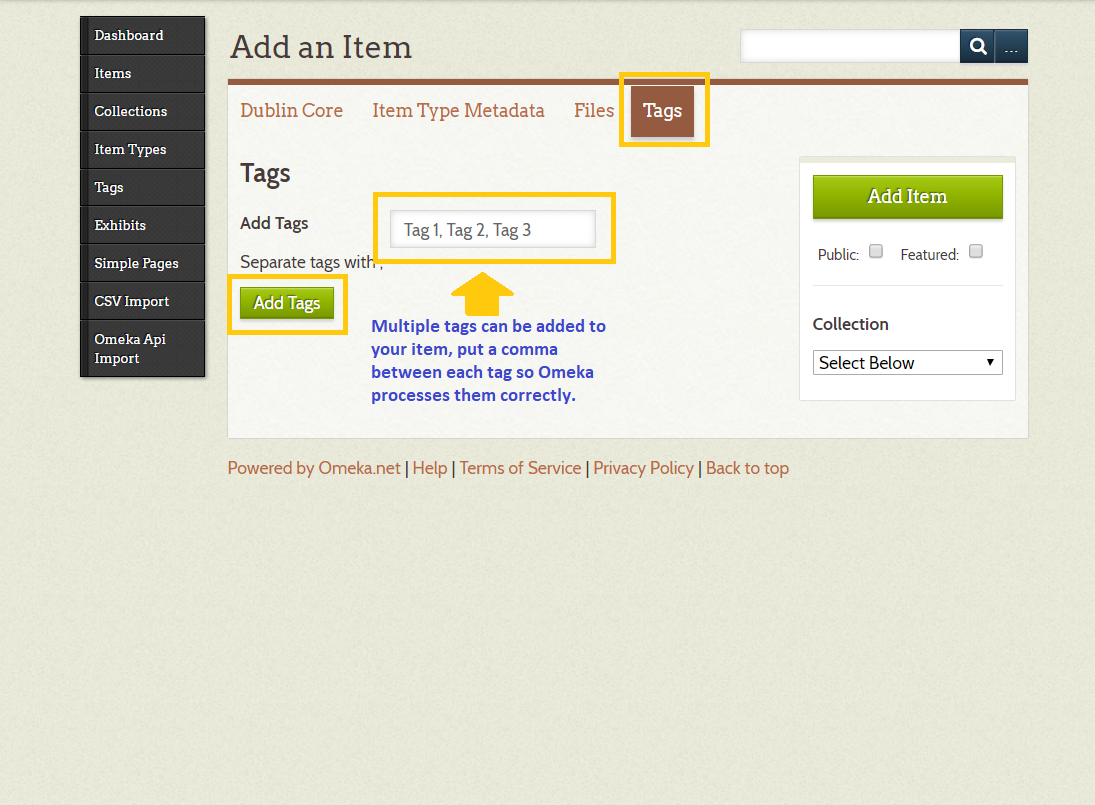
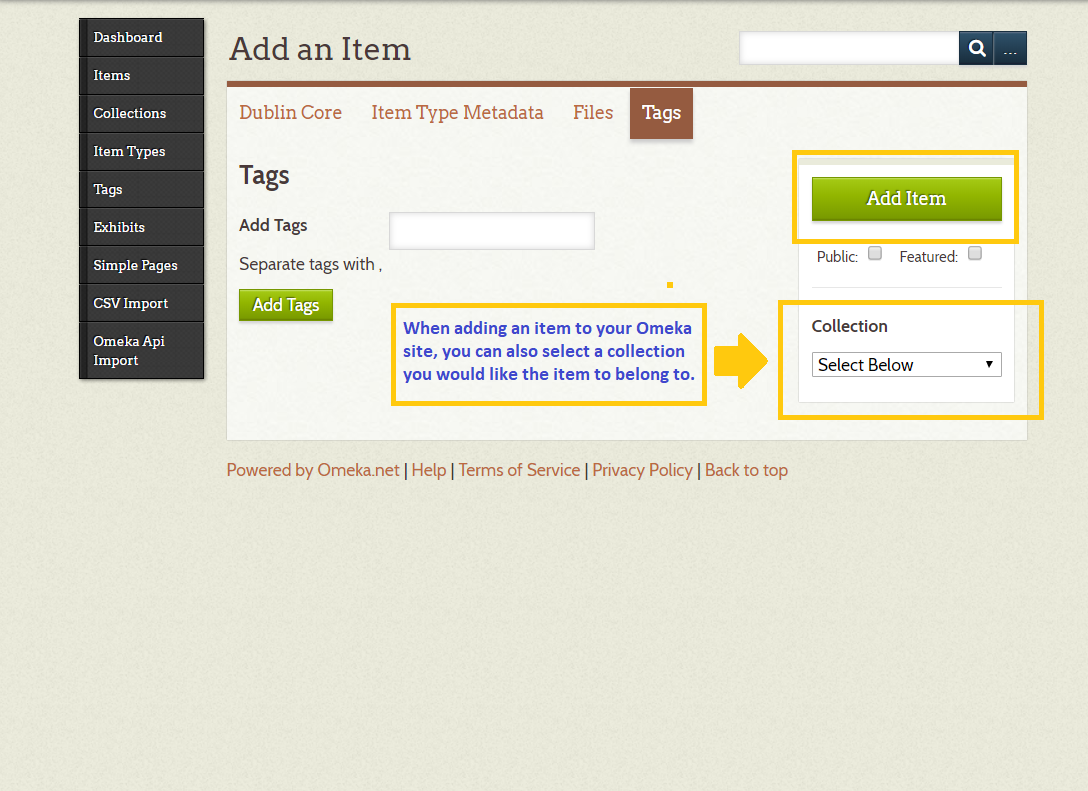
- Add item tags to relate this item to others in your collection. Tags are a helpful way for users to search your site, try to pick ones that will help them find things.
- Don't forget to click the green 'Add Item' button! You can also select which collection you would like the item to be a part of, if you have collections already set up.